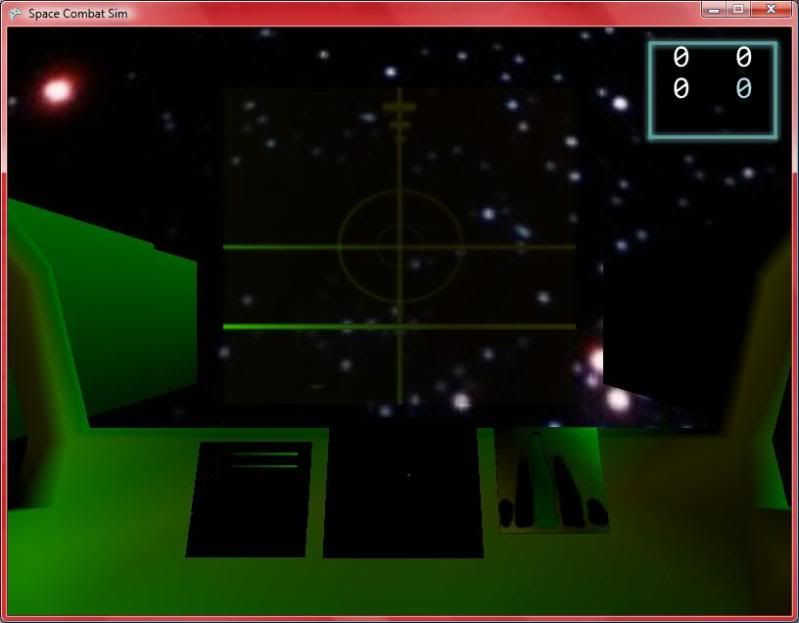
Today I added point lights to the game. These are nice for lights which come from a location and affect a specific, limited area. Great for more dramatic explosions, shooting and so on. Here's a pic
Lighting in Space Combat Sim is done using some fairly simple math. One topic covered in high-school geometry was the dot product. The dot product is a scalar product of two vectors. One property of a dot product is that, when it's produced from two unit vectors, its value is equal to the cosine of the angle between the vectors.
Why is that useful? Try shining a flashlight on a marble, or ball bearing, or basketball (anything round will do.) Notice that the brightest parts are those that face the light. As the surface of the ball faces away from the light it darkens. If you remember that old high-school math cosine is one for an angle of zero and zero for an angle of ninety degrees.
Cool. But this still doesn't say how light or dark a surface is... We need one more piece of data. The surface normal. This is a unit vector points straight off of the surface being lit. Let's express the direction of some infinitely far away light source with another vector. Remember what I said in the previous paragraph? The dot product of the two vectors is one if the surface is facing the light perfectly and zero if it isn't facing the light at all. Cool, eh?
This is the shader code for a directional light. It's a nice stand-in for some sunlight. Notice there's a little bit of extra work here so that it can render eight lights at a time.
float4 outputColor = float4(0, 0, 0, 0);
for(int i = 0; i < GlobalLightCount; i++)
{
    float LightFactor = dot( GlobalLights[i].Vector, input.WorldNormal );
    float4 color = GlobalLights[i].Color * LightFactor;
    outputColor += color;
}
outputColor.a = 1;
return saturate( outputColor ) * tex2D( DiffuseSampler, input.TextureCoord );
Now to extend this to point lights.
Point lights are a little different in that they have a definate location and a limited range. Both of these are fairly easy to deal with. Instead of specifying the direction of the light explicitly we calculate it by finding a unit vector that points from the light source to the object being lit. Cake.
The range limitation can also be made quite simple if we don't care about being 100% realistic.
Get distance between the light and the object being lit.
Divide that distance by the radius of the light.
Clamp the value to a range between zero and one
Subtract the value from one
This gives an additional value that we use to adjust the light's intensity based on distance. Here's the resulting HLSL shader code
float3 lightVector = GlobalLights[7].Vector - input.WorldPosition;
float lightDist = length( GlobalLights[7].Vector - input.WorldPosition );
float3 directionToLight = lightVector / lightDist;

// falloff light intensity linearly between alpha*radius and radius
float baseIntensity = 1 - saturate( lightDist / GlobalLights[0].Radius );
float diffuseIntensity = saturate( dot( directionToLight, input.WorldNormal ) );
outputColor += GlobalLights[7].Color * baseIntensity * diffuseIntensity;

outputColor.a = 1;
return saturate( outputColor ) * tex2D( DiffuseSampler, input.TextureCoord );

You should have asked me, I would have helped you test :)
ReplyDeleteOr maybe you did and I was so stressy over trying to figure out how to get Norbs my project lol.